

So, you’ve decided to tackle your kitchen or bathroom and resurface those old countertops. It may or may not be your first time working with epoxy and knowing some of the ins and outs of the resurfacing process can save you that avoidable headache. To help ease that process we have put together some general Do’s and Don’ts for epoxy countertop resurfacing to help you avoid those small mistakes and achieve those dream countertops.
DO
- DO Plan out your resurface and DO your research! – Planning out every aspect and being organized will ultimately save you a lot of time and headache. Research and map out the entirety of the project from start to finish, from surface measurements, masking and proper tools for the job to the epoxy design itself. Planning it out and being fully organized will give you that piece of mind.
- DO Be aware of your substrate material - going over Formica, wood, or dated granite? Make sure to properly prepare your surface and determine if you need to do any additional steps before pouring. Such as applying a skim coat prior to your initial flood pour. Skim coating seals in a porous surface to avoid your surface soaking up any epoxy and also avoiding any air bubbles from forming.
Epoxy Surface Preparation for the 5 most common countertop surfaces
What surfaces You Can (and Cannot) Resurface with Epoxy
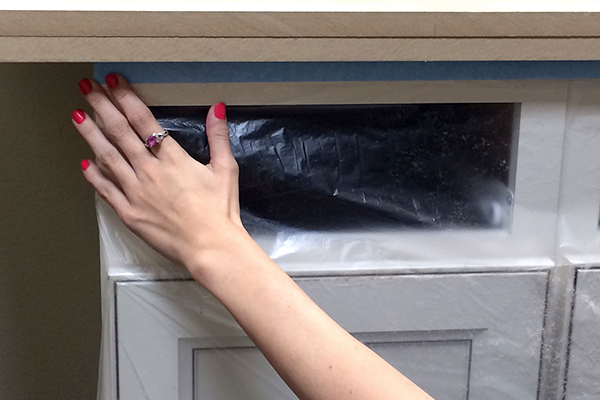
- DO Mask everything – Epoxy resurfacing can be, a messy job. Mask everything around your work area. Mask the entire floor, your under cabinets, where you’ll be mixing, and the backsplash wall. Not only will this avoid epoxy being in places it shouldn't be, this will make cleaning up a breeze.
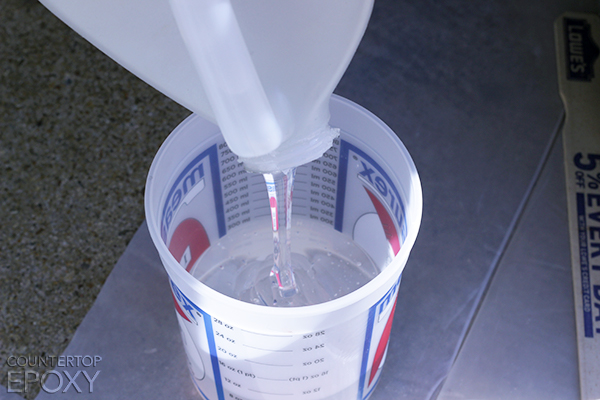
- DO Measure everything – have the proper measurements and square footage for your entire surface so you know how much product you’ll need. How do you figure out the square footage of your countertops? Multiple the length by width of your surface. (6ft x 4ft = 24 sq. ft.) Don’t forget to include anything vertical when calculating!
You can Refer to our epoxy coverage chart under our Premium FX Poxy product description here.
- DO be aware of product cure times. Our Premium FX Poxy will cure to a useable hardness within 12-24 hours but keep in mind it takes a full 30 days to cure to it's full durability. We always recommend to "baby" your new countertops for the first couple weeks. Meaning, don't set any heavy objects that may leave impressions (such as crock-pots or items with 'feet' on them) or try and test out the scratch/heat resistance during the first 30 days.
- DO Practice - Pour a small sample piece first. Great for getting your technique down before the big pour and deciding what design details work for you and ones that don't. Not sure about committing to a big project just yet or first time working with epoxy? Order our FX Test Kit and try out our product before committing to that big one.
- DO Ask questions – Send us a message on social media, email our team at info@countertopepoxy.com or call our office 970.639.9338 and speak with us directly. Our office is open M-F, 8am-6pm Mountain Time and our representatives are more than happy to help answer any questions for you or even walk you through the whole process from start to finish!
Read our Frequently Asked Questions

- DO Take pictures – Take those before and after shots of the whole process. Remember the process that gave you that beautiful transformation, nothing beats wowing your friends and family with those before and after photos!
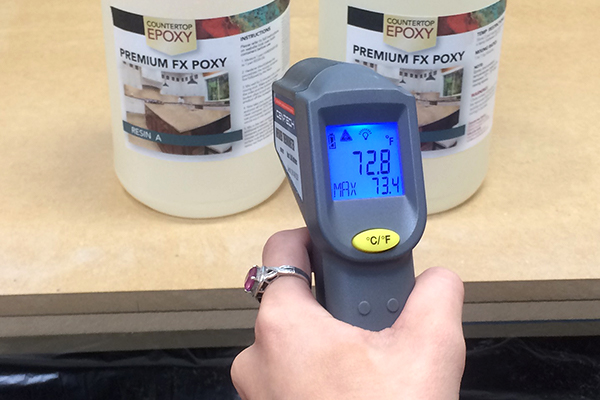
- DO Acclimate your product and ambient temperature - It's extremely important before pouring your epoxy surface to make sure product and ambient temperature is acclimated to 70- 75 degrees Fahrenheit. If improperly acclimated and temperatures are below 70 degrees F, it will result in a soft cure that's not durable. Do check your product temperature, home thermostat and even your surface temperature before pouring. While your space may be at 70 degrees F, your countertop surface can be at a lower temperature. Bring your room and epoxy to 70-75 degrees F, for 2-3 days before you pour. Once you have poured, it is important to maintain this temperature for another 24 hours to allow for the countertop to cure properly.
- DO Watch Video Tutorials - Researching and learning all you can before starting your project will ultimately give you the best results. Do watch our tutorial videos to learn more about our product, the designs, techniques, and tips and tricks to help you with every aspect of the project.
Our YouTube Channel, CountertopEpoxy
Epoxy Kitchen Countertop How To
Countertop Edges and Epoxy Surface Coating Tips
How to De-Gloss and Polish an Epoxy Countertop
How To: Create an Epoxy White Marble Countertop
How To: Create Slate Gray Countertops
How to Create a Wood Grain Epoxy Countertop
How to Create a Butcher Block Countertop with an Epoxy Coating
DON'T
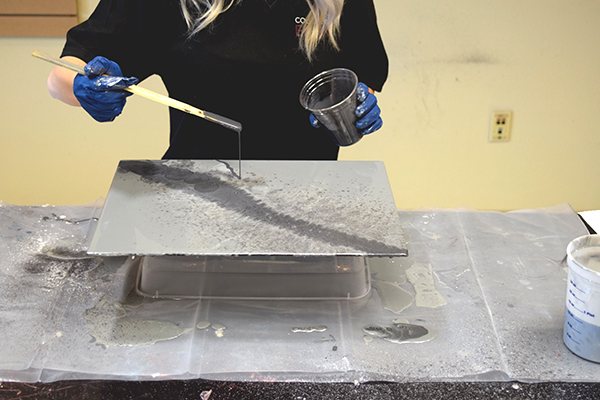
- DON’T Rush the mixing process - The mixing process is the most vital step in ensuring your product cures properly. Rushing or improperly mixing the epoxy at its intended ratio (Premium FX Poxy is a 1:1 Ratio) is a common mistake most DIYer's make. Make sure to follow the instructions for the mixing time and ratio of the product. If improperly mixed, it can result in soft spots or tacky areas that will not cure.
Read our detailed Countertop Instructions.
Watch our Video on How To: Mix our Premium FX Poxy, Add FX Prime Coat, and FX Metallic Powders.
- DON’T Under estimate product amount – So you’ve measured out your surface and got your square footage, now time to order enough product to cover your surface. Let’s say you have 42 sq. ft. of countertop you want to resurface. Our 2 Gallon Premium FX Poxy Kits will cover 32-40 sq. ft, you may be thinking "2 Gallons should be enough, it’s only 2 sq. ft. over". Wrong. Do not under estimate product coverage. We recommend getting the right amount for every square foot of your surface, cutting corners on product amount can result in dents, divots or fisheyes. This happens from the product pulling too thin in areas without enough product. The more product you have for your square footage will ultimately save you from worry. In this case of 42 sq. ft., we'd recommend 2.5 Gallons of product which will give you a total coverage of 42-50 sq. ft. This allows you to not only have more than enough product but ensures your surface will be fully and properly covered. The more the merrier.
How much epoxy do I need to cover my floor, countertop, or wall?
Why do I have dents or divots in my epoxy countertop?
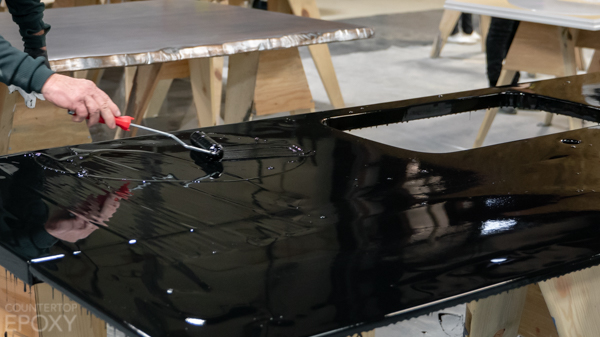
- DON’T Be afraid of messing up – One thing about epoxy is you're able to manipulate the product a lot more than you think. If you placed your first vein and it didn't turn out the way you wanted (and you’re still in the 40-45 min work time) don’t worry! Manipulate the vein, go back in with a brush and stipple it out or pour another vein right over it to dull it down.
How To: Create veins in Epoxy Countertops
- DON'T neglect your ambient temperature - While you acclimated everything properly, don't neglect keeping your ambient temperature at the appropriate 70-75 degrees Fahrenheit during application and after. If your work space temperature exceeds or deeps under the proper work temp, it can have some unfortunate effects. Too warm/hot will result in product curing much quicker than anticipated and lessening your work time significantly. Too cold and the product will not cure to it's full hardness or at all.
- DON'T leave excessive product sitting in your mixing container. By doing so, the excessive amount of product left in the container will flash, bubble, heat up, cure at an extremely fast rate and potentially crack. Once the product is properly mixed, pour it out on your surface immediately. Same can be said for pouring our Premium FX Poxy thicker than the intended 1/8 inch thickness. If wishing to pour thicker, you can pour multiple 1/8" layers (letting each layer cure 12-24 hours between), or opt for our FX Casting Resin which can be poured at an 1 inch thickness in a single pour.
- DON’T over work your surface – Once you pour the product out you want to spread the product across in smooth even strokes. Don’t overwork the area or treat it as painting. Take your time in ensuring the product is level across your entire piece and let the epoxy do the work.
Refer to our post on Vertical Edges and Surface Coating Tips.
- DON’T over torch - While popping bubbles is extremely satisfying, you can potentially over torch your surface and cause epoxy burns or unfortunate amber torch marks showing up after cure.
How to Properly torch your epoxy surface
- DON’T Be nervous! – Tackling any new DIY project can be intimidating and may leave you bit nervous before starting, specially if you haven’t worked with epoxy before. We always recommend practicing before any big project. Grab a small sample board such as a Masonite board from your local home improvement store and pour a small amount, practice your design, and working with the product. This will give you the confidence to tackle your countertop and a better idea of the design you’re aiming for. Trust us, you’ll feel much better after you do a sample piece.
Following these Do's and Don'ts will help make your project go as smooth as possible. Do you have a question about the process? Please don't hesitate to reach out by giving us a call 970.639.9338 or sending our team an email at info@countertopepoxy.com. We are happy to be of service!